Why a Camera Placement Planner Matters for Effective CCTV Design
Getting the Basics Right Before You Mount a Single Camera
I have been designing surveillance systems for over fifteen years, and the single biggest mistake I see is rushing to buy hardware before thinking through where each camera actually goes. A good camera placement planner is not a luxury. It is the difference between a system that deters crime and one that collects hours of useless footage. Every time I walk into a site where the owner already mounted cameras without a plan, I find blind spots, glare issues, and lenses that are either too narrow or too wide for the space. Fixing those problems after the cables are run costs time and money. Getting it right from the start saves both.
What a Real Camera Placement Planner Does
A camera placement planner is a tool that helps you map out the physical positions of surveillance cameras before you buy a single piece of gear. It is not just about drawing circles on a floor plan. A thorough planner accounts for the lens focal length, the field of view, the mounting height, and the lighting conditions at different times of day. It also considers the practical limits of cabling, whether you are using ethernet cable for IP cameras or coaxial cable for analog cameras. When I work with a new client, I always start with a rough sketch of the property and then use a planner to test different scenarios. That process alone has saved me from ordering the wrong lenses more times than I can count.
A well-designed camera placement planner also helps you think about the relationship between cameras. For example, if you place a camera with a wide field of view in a corner, you might cover a large area, but you will also get a lot of distortion at the edges. A narrower lens gives you better detail for identification, but it leaves gaps. The planner helps you balance these trade-offs before you commit to a specific model from Hikvision or Dahua or Axis Communications. I have seen too many installs where someone bought a dozen identical cameras and then discovered half of them could not see what they needed to see. That is a costly lesson that a few minutes with a planner could have prevented.
Practical Considerations That a Planner Forces You to Address
One of the things I appreciate most about a good camera placement planner is how it forces you to think about the infrastructure. You cannot just decide where to put a camera. You have to figure out how to get power and data to it. Power over ethernet is a clean solution for IP cameras, but it requires a PoE switch with enough ports and enough power budget. If you are running long distances, you need to consider voltage drop and whether you need a midspan injector. For analog cameras, you are looking at coaxial cable runs and a DVR at the other end. A planner that includes cabling paths can reveal problems early. I once worked on a warehouse where the planned camera locations looked perfect on paper, but the only way to run cable to one of them was through a fire-rated wall that nobody wanted to drill. We caught that in the planning stage and moved the camera two feet to the left, using an existing conduit. That kind of adjustment is easy on a plan. It is a nightmare after the ceiling is closed.
Matching the Camera to the Scene
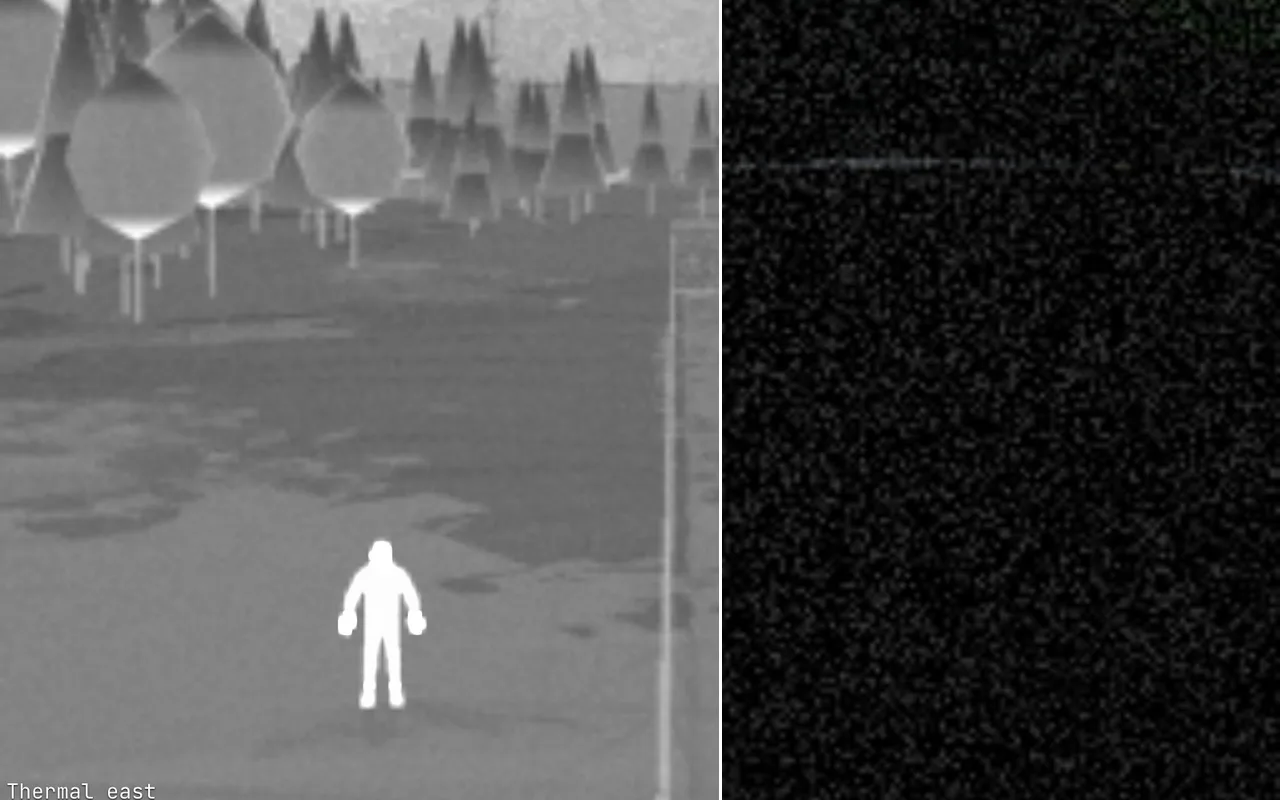
The choice between an IP camera and an analog camera is not just about resolution. It is about the environment, the lighting, and the recording setup. An IP camera with video management software gives you more flexibility for motion detection and remote viewing. But it also means you need an NVR and enough network bandwidth. Analog cameras are simpler and cheaper, but they are harder to integrate into a modern system that uses analytics. A camera placement planner should help you decide which type fits each location. For instance, at a dark loading dock, you might want a camera with good night vision and a lens that can handle low light. A typical 2.8mm lens will give you a wide field of view, but it will struggle in darkness. A 6mm lens with a larger aperture might work better, but it narrows the view. The planner lets you compare these options visually.
I have also learned that motion detection settings are highly dependent on camera placement. If you point a camera at a busy street, you will get constant false alerts unless you tune the detection zones. A planner that shows you the exact field of view can help you position the camera so that the street is outside the detection area while the parking lot is inside it. That is the kind of detail that separates a professional CCTV design from a hobbyist setup.
Common Pitfalls I Have Seen
- Mounting cameras too high to get a useful angle for face identification. A camera at twenty feet can see a lot of area, but you will never get a clear shot of a person's face.
- Using the same lens focal length everywhere. A lobby and a hallway need different lenses. A planner helps you see why.
- Ignoring backlight. A camera pointed at a bright window will wash out the interior. You need wide dynamic range or a different placement.
- Forgetting about cable pathways until after the walls are finished. That mistake usually means exposed conduit or expensive retrofits.
How I Use a Camera Placement Planner in Real Projects
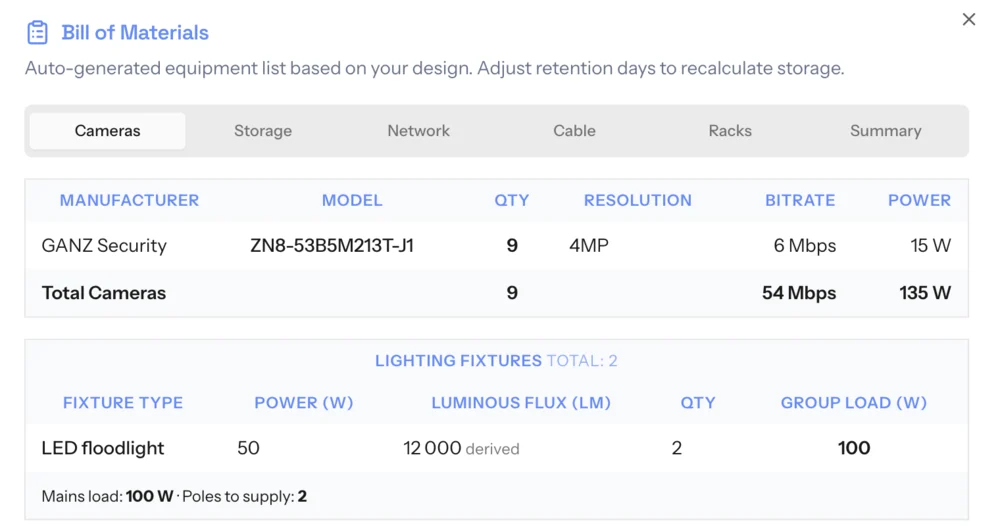
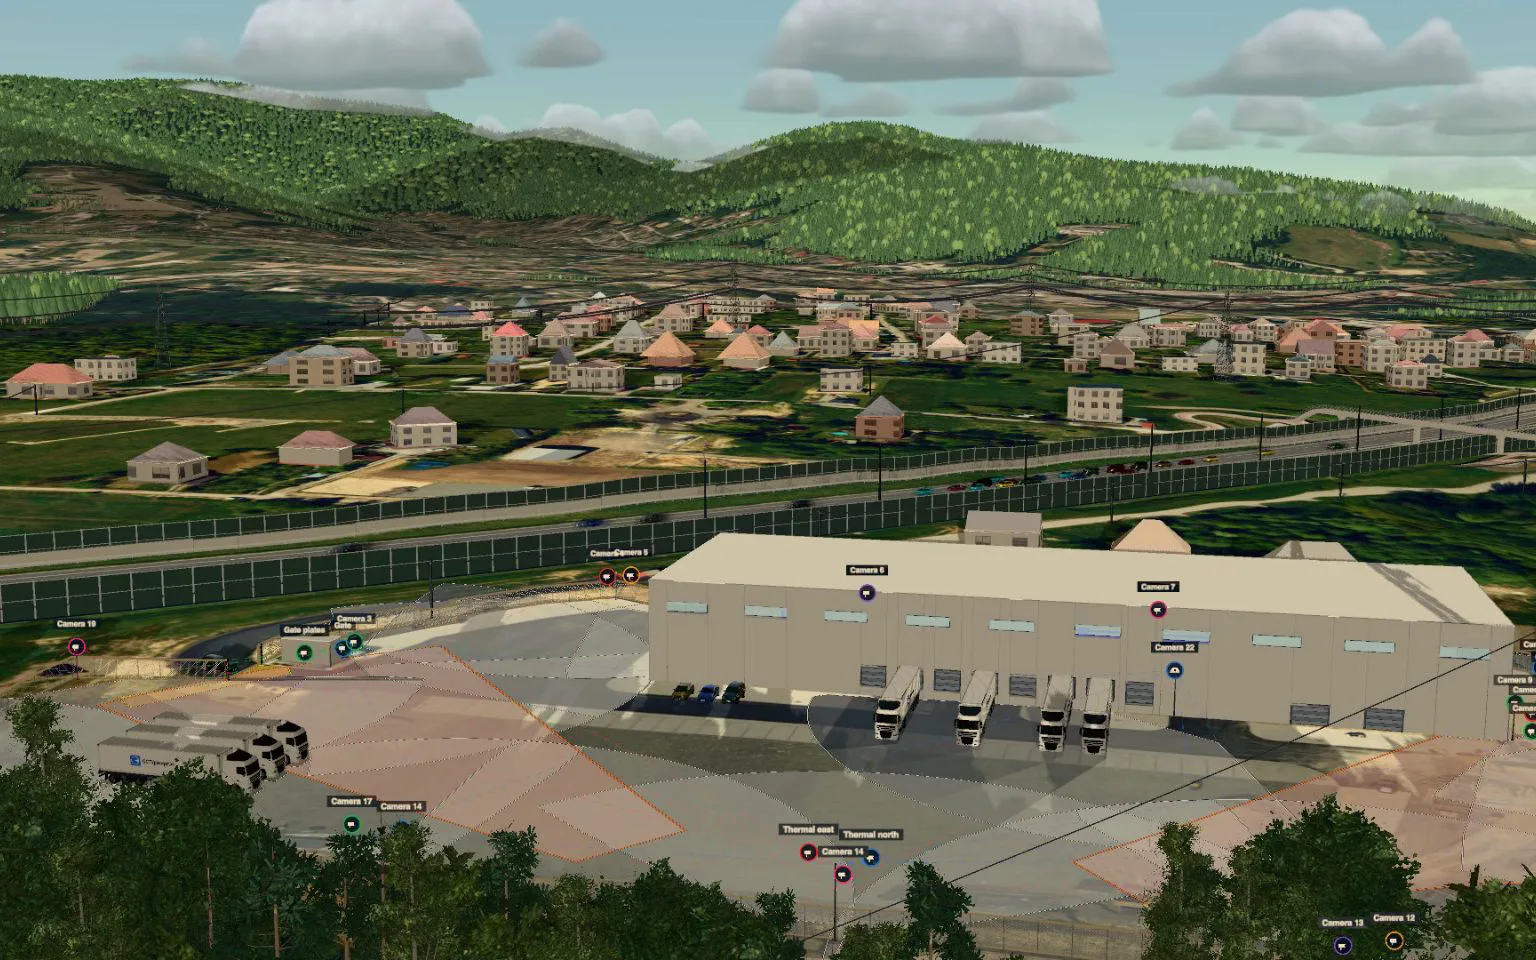
When I start a new project, I walk the site with a notepad and a laser distance measurer. I note the dimensions of every room, the locations of doors and windows, the height of ceilings, and the existing light sources. Then I sit down with a camera placement planner and drop cameras onto the floor plan. I adjust each camera's field of view until I am confident that every critical area is covered. For a retail store, that means the registers, the entrance, the stockroom, and the aisles. For an office, it means the reception area, the server room, the exits, and the parking lot. I also mark the locations of the PoE switch and the NVR or DVR. Once the plan is solid, I generate a bill of materials that includes the exact models of cameras, lenses, and cables. That list goes straight to the client for approval. There are no surprises.
One project that stands out involved a school that wanted to cover a large gymnasium. The ceiling was thirty feet high, and the client wanted to identify individuals who entered through a side door. A standard camera with a 2.8mm lens would have shown the whole room but made faces look like pixels. I used a camera placement planner to test a combination of wide-angle cameras for general coverage and a few narrow-field cameras with longer focal lengths focused on the doorways. The planner showed me that the narrow cameras needed to be mounted lower to avoid distortion. We ended up using a mix of Axis Communications and Bosch Security cameras, and the system worked exactly as designed. Without the planner, I probably would have ordered all wide lenses and missed the identification requirement entirely.
What to Look For in a Camera Placement Planner
Not all planners are created equal. The best ones let you import a floor plan or draw one from scratch. They should include a database of common camera models from brands like Hikvision, Dahua, Axis Communications, and Bosch Security, with accurate specifications for lens focal length, field of view, and resolution. They should also let you simulate different lighting conditions and see the effects of night vision. Some planners even calculate the pixel density at a given distance, which is critical for meeting industry standards like those from the National Institute of Standards and Technology. A good planner will also generate a report that you can share with a client or use as a guide for the installation team.
One feature I find invaluable is the ability to overlay motion detection zones on the camera's view. That way, I can show a client exactly where the system will trigger an alert and where it will not. It saves hours of explanation and prevents misunderstandings later. Another useful feature is cable length estimation. If the planner tells me that the run from the camera to the PoE switch is over three hundred feet, I know I need a fiber run or a local switch. That kind of detail is easy to miss on paper but hard to fix after the cable is pulled.
The Bottom Line
A camera placement planner is not just a nice-to-have for security professionals. It is a practical tool that pays for itself on the first project. It reduces errors, saves time, and produces a better result for the client. Whether you are designing a small office system with a few IP cameras or a large campus with dozens of analog cameras, the discipline of planning before you buy is what separates a reliable CCTV design from a mess of compromises. Next time you start a surveillance project, open a camera placement planner before you open a catalog. Your wallet and your client will thank you.